How to Scan a Face with Bellus3D
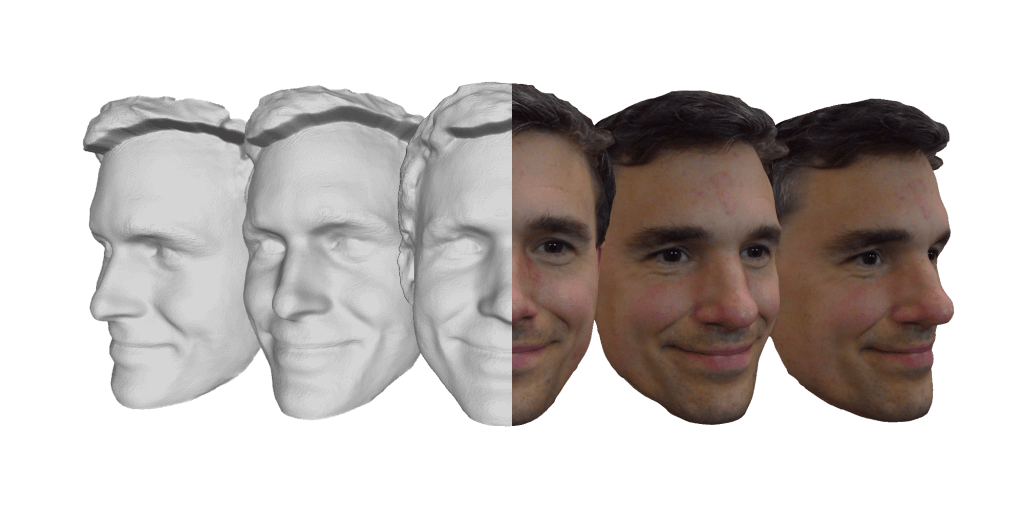
Bellus3D face scanning allows you to capture a detailed 3D model of a face. Our scans use hundreds of thousands of projected infrared dots to generate a highly accurate face model.
Companies across a wide variety of industries are using Bellus3D face scans for customized products, animation, and 3D printing.
Bellus3D FaceApp is an iOS app that can easily and quickly capture a 3D face scan and then allow you to download a 3D file (either STL, OBJ or PLY format).
The Bellus3D ARC system is a standalone, multi-camera scanning solution that leverages proprietary cameras supporting both RGB and infrared capture of extremely detailed face data. The ARC system takes extremely fast and high resolution scans (~ 3 seconds) and no movement is required by the subject. The ARC system is designed for professional environments and captures over 1M polygons with sub-millimeter accuracy.
Learn How to Scan with Bellus3D FaceApp
Learn How to Scan with Bellus3D ARC
How to Make Bellus3D's Face Mask Fitter for COVID-19
Use Face Scanning and 3D Printing to Improve Seal of Surgical Masks

Bellus3D's Face Mask Fitter is a personalized 3D printed plastic frame that is contoured to the specific shape of a person's face to improve the seal of surgical or similar face masks. The mask fitter model can be generated with Bellus3D's face scanning app on an iPhone 11, iPhone X, or iPad Pro with FaceID capability.
The Loma Linda University School of Dentistry has worked with us on the development and testing of the Mask Fitter and have found that it enhances the peripheral seal of a mask.
Warning: While our fitter seems to improve the seal of a face mask, it has not been tested for effectiveness in preventing COVID-19, and you should use it at your own risk.
What You Will Need
You will need to scan the wearer's face using Bellus3D FaceApp, which requires an iPhone with a TrueDepth camera (iPhone X, Xs, Xs Max, XR, 11, 11 Pro or 11 Pro Max). If you are using an iPad Pro, you can scan using Bellus3D Dental Pro.
To 3D print the fitter, you will need a 3D printer using material such as PLA plastic.
Band Material: You will need material to create a band to hold the fitter in place around the head. We recommend a chain of thin rubber bands. It may also be possible to use elastic cloth or string.
Filter Material: A surgical mask is preferred. Other filtering materials may work with reduced effectiveness, such as cotton cloth.
What It Costs
Scanning with an iOS device and Bellus3D FaceApp or Dental Pro, and exporting the fitter as an STL file is free.
3D Printing the mask fitter requires materials such as PLA plastic.
Scanning with Bellus3D FaceApp
Stand or sit in a stationary place so that you will be able to turn your head 90° to the left and right when you are ready to scan. Remove glasses or anything else obscuring your face.
Launch the FaceApp application and select the FACE option.
Position the phone directly in front of your face at a distance that causes the red oval to turn green. Once the oval turns green you can push the white button at the bottom of the phone display in order to initiate the scan. Hold a neutral facial expression (don't smile) for the duration of the scan.
The application will prompt you to turn 90° to the left, then back to the middle, 90° to the right and then back to the middle.
Once the capture is complete, FaceApp will stitch together the various perspectives to form the 3D model. In the bottom right corner, you can press the "Mask Fitter" button to generate the fitter model.
Press the "export" button in the bottom right to send the .stl file to your computer. You can do this by choosing the email option, and then opening the mail with the .stl attachment on your computer.
Printing the Fitter
Bellus3D software generates a .stl 3D model file that is supported by most 3d printing software. The following description is for X-Maker from Qidi Tech, a FDM 3D printer, using the Qidi Print Windows app that comes with the printer. The process should be similar for other printers.
See the specs for the Qidi X-Maker here
Open the STL file and it will appear in the printer bed
You can optionally rotate the model 180 degrees so the side with the hooks face down. This helps to create a smooth interior surface touching your mask. Press “Lay flat” icon in the rotation tool to make sure the model stays flat on the printing surface.
Choose PLA (or other material). Choose 100% Infill. Select “Add Support” and set Support settings as pictured.
Click “Prepare” button to create a printer ready .gcode file and save it to a USB memory stick.
Plug the USB stick in the printer and follow the printer instructions to print it.
Using the Fitter
After printing the fitter, remove any extra support plastic and sand the surfaces so that they are smooth. Avoid breaking the hooks that are used for holding the bands.
Create an elastic band and attach it to the fitter. If you are using thin rubber bands, you can attach them to the hooks, and then make a chain to create a band that fits around the head.
If using a surgical or face mask, put on the mask first. If using unsecured material like a cloth square, you can hold it in place over your face.
Put the fitter over the mask, and check in the mirror to see that it matches the model in the app. If fitted properly, the mask material should move in and out when you breathe, and minimal air should escape around the edges of the fitter.
When taking off the fitter, carefully remove it while avoiding contact with your eyes.
The fitter can be reused, but should be thoroughly sanitized by submerging it in a disinfectant solution. Some 3D-printed materials may be porous and more difficult to sanitize.